- Published on
How This Blog Was Built and Hosted
How I Created This Blog:
Creating this blog was actually quite simple and costs next to nothing! There's no hosting cost, the only cost is for the domain registrar ($7.18/yr for a .link at Cloudflare).
There are many options for free hosting on your own domain: Cloudflare Pages, Github Pages and Vercel are a few. This example will be using Cloudflare Pages.
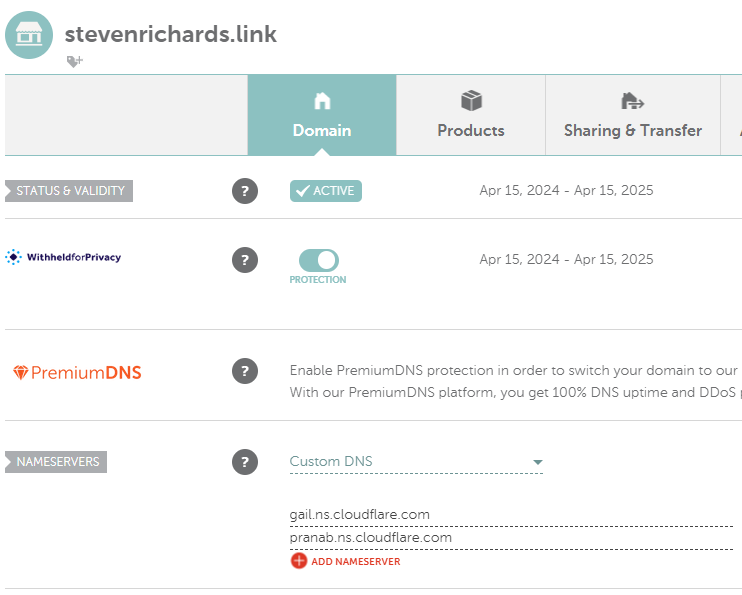
DNS

Clone Repo
This starter blog repo has been maintained for years and currently has 1,021 commits! I chose it because it uses the latest version (15) of Next.js, a modern React based framework, as well as Tailwind CSS. Tailwind and React are great to learn if you have an interest in web development, should you do that you'll have lots of options to customize the look and feel of the blog.
If signed in, near the top of the Github page there's a "Fork" option. That would be the most simple way to clone this repo, so you can have your fork set as the remote origin automatically. Once it's forked, simply clone your own fork and if signed into Git on your PC the remote origin is set and you can start committing!
git clone https://github.com/yourUserName/yourForkName
Make It Yours
Now that you have it on your local PC, you can start creating posts! The posts are found in /data/blog/
I moved the examples to a different directory, for references on the markdown syntax. Any new .mdx file inside /data/blog/ gets turned into a post, assuming it has the needed headers (use examples for reference).
You'll want to change /data/siteMetadata.js to your own info, and simply comment out anything that you don't use.
To run the dev server follow the directions in the Readme. I've never used yarn (typically pnpm), but it was dead simple, just make sure yarn is installed first.
Cloudflare Pages Settings
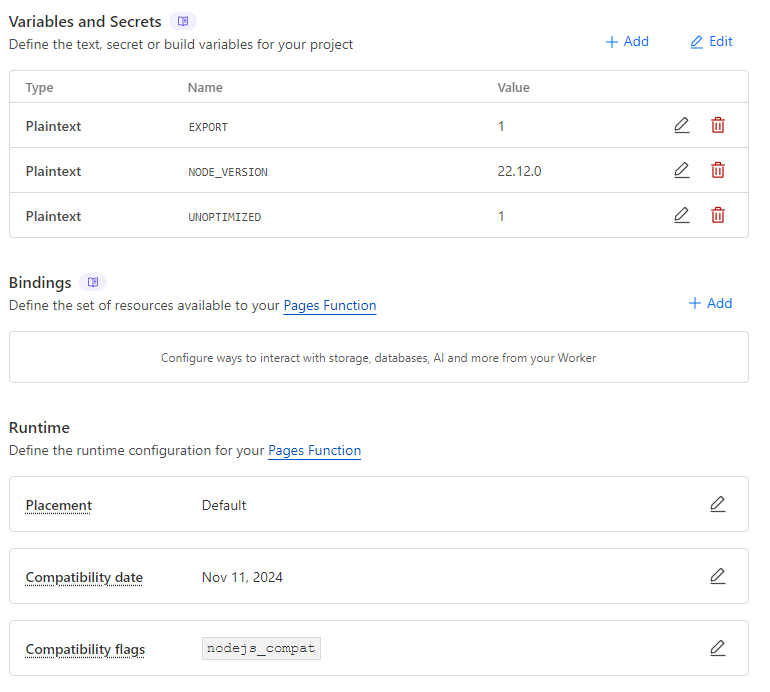
This was the trickiest part! I had to google some of the build errors to find these settings. Once you have your Node version and compatibility flag set, you might be good to go. I haven't tested to see if the other ENV variables are required. Node version was chosen because it's the latest LTS.

Commit and Push Changes
Once Cloudflare Pages and your remote origin are setup, all you should need to do is add new posts to staging, commit and push:
git add .
git commit -am "Commit message here"
git push
2024/12/13 Update: How I Added An Embedded YouTube Component
This was an important feature I needed, because I'll definitely want to share some youtube videos and embedding is what I would prefer, rather than just linking.
What was even better about adding this functionality was realizing just how simple it will be to add custom components to this blog, and how easily I can tap into the amazing power of React when needed!
Created this component in /components/VideoEmbed.tsx (Thank You Random Blog!)
'use client'

enum embedPrefix {
  youtube = 'https://www.youtube.com/embed/',
  odysee = 'https://odysee.com/$/embed/',
}

interface Video {
  site: keyof typeof embedPrefix
  id: string
  title: string
}

export default function VideoEmbed({ site, id, title }: Video) {
  const sitePrefix = embedPrefix[site]

  return (
    <div>
      <iframe
        className="aspect-video w-full"
        src={`${sitePrefix}` + id}
        title={`${title}`}
        allow="accelerometer; autoplay; clipboard-write; encrypted-media; gyroscope; picture-in-picture"
      ></iframe>
    </div>
  )
}
Registered the component in /components/MDXComponents.tsx (literally just adding the last line)
export const components: MDXComponents = {
  Image,
  TOCInline,
  a: CustomLink,
  pre: Pre,
  table: TableWrapper,
  BlogNewsletterForm,
  VideoEmbed,
}
To use in a post (normal React, but inside an MDX markdown file)
<VideoEmbed site="youtube" id="Xe5wd2P4ASw" title="CyberGEN.IQ Results Video" />
Stay Tuned
I plan to add more details of the Cloudflare Pages setup at some point! It's very straight forward, you basically just connect your Cloudflare account to your Github account, then select the repo.
I'd like to add screenshots, but my Cloudflare account is locked behind 2FA and I'm currently too far from my YubiKey... LOL!